Showing posts with label DIY. Show all posts

Thursday, September 3, 2015

My 21st Birthday Party!

Hello lovelies, I really really wanted to share some of these photos with you guys. I had an amazing party for the 21st, it was like a mini festival in my garden! I had so much fun and thought it might give you guys some inspiration if you were wanting to plan anything like this! 


The homemade bar my mum made from an old chicken cage!


The wine bottles are my mums amazing idea. We basically just got bottles of wine and soaked of the labels in warm water, then my mum created all these signs and we stuck them on with double sided sticky tape (however if you buy sticker paper and print it on there it would make your life a lot easier!)


These cute little hanging balls were from ikea and I just added them onto string.


The bouncy castle was amazing!


Hope this has given you some inspiration for anything you are planning and you loved it just as much as I did. If you want anymore information on any of the photos in the post just comment down below! Thanks for reading guys

Wednesday, December 3, 2014

DIY: Ripped Jeans

Hello lovelies, just a quick post today that I thought i'd share with you. I'm really into my DIY's at the moment and this one is the easiest one ever!


Recently my friend bought some topshop jeans in the sale, with the ripped knees, which everyone seems to be wearing at the moment. But I didn't really feel like spending 30 odd pounds on a pair of jeans from Topshop. I did find some cheaper ones online but then I never like buying jeans online, I really wanted a pair but I was a bit stuck, until it occurred to me. Something as simple as a rip in the knees is ridiculously easy to do, why are we paying so much for it?

So heres what I did-

You will need:

  • A pair of plain jeans (Old or new)
  • A pen
  • A pair of scissors 


I got my jeans from Primark for only 7 pounds and after doing this they are now my favourite pair!
So I sat down with my jeans on so the jeans were quite stretched out, and drew on them with a normal pen (I wouldn't recommend using sharpie as the line will be too thick and might stain). I drew about a 4cm line on each knee right in the centre of my knee cap. This is the important bit, to look in the mirror and check they are even before you cut, I got my friend to double check too, just to be safe. You might think the line you have drawn is too short and you want a longer slit than that, well I did in the knowledge that they will rip a bit more once I wear them and it will look more ripped than cut when that happens.

So then take the jeans off for the cutting part! And cut them carefully and keep putting them back on and seeing if you are happy with them, remembering they will rip further once you wear them a bit. And that is how simple it is! And I spent a total of 7 pounds.

If this post inspired you to get creative and save some money, send some pictures of your DIY Jeans!

Wednesday, October 8, 2014

DIY Bedroom Decoration

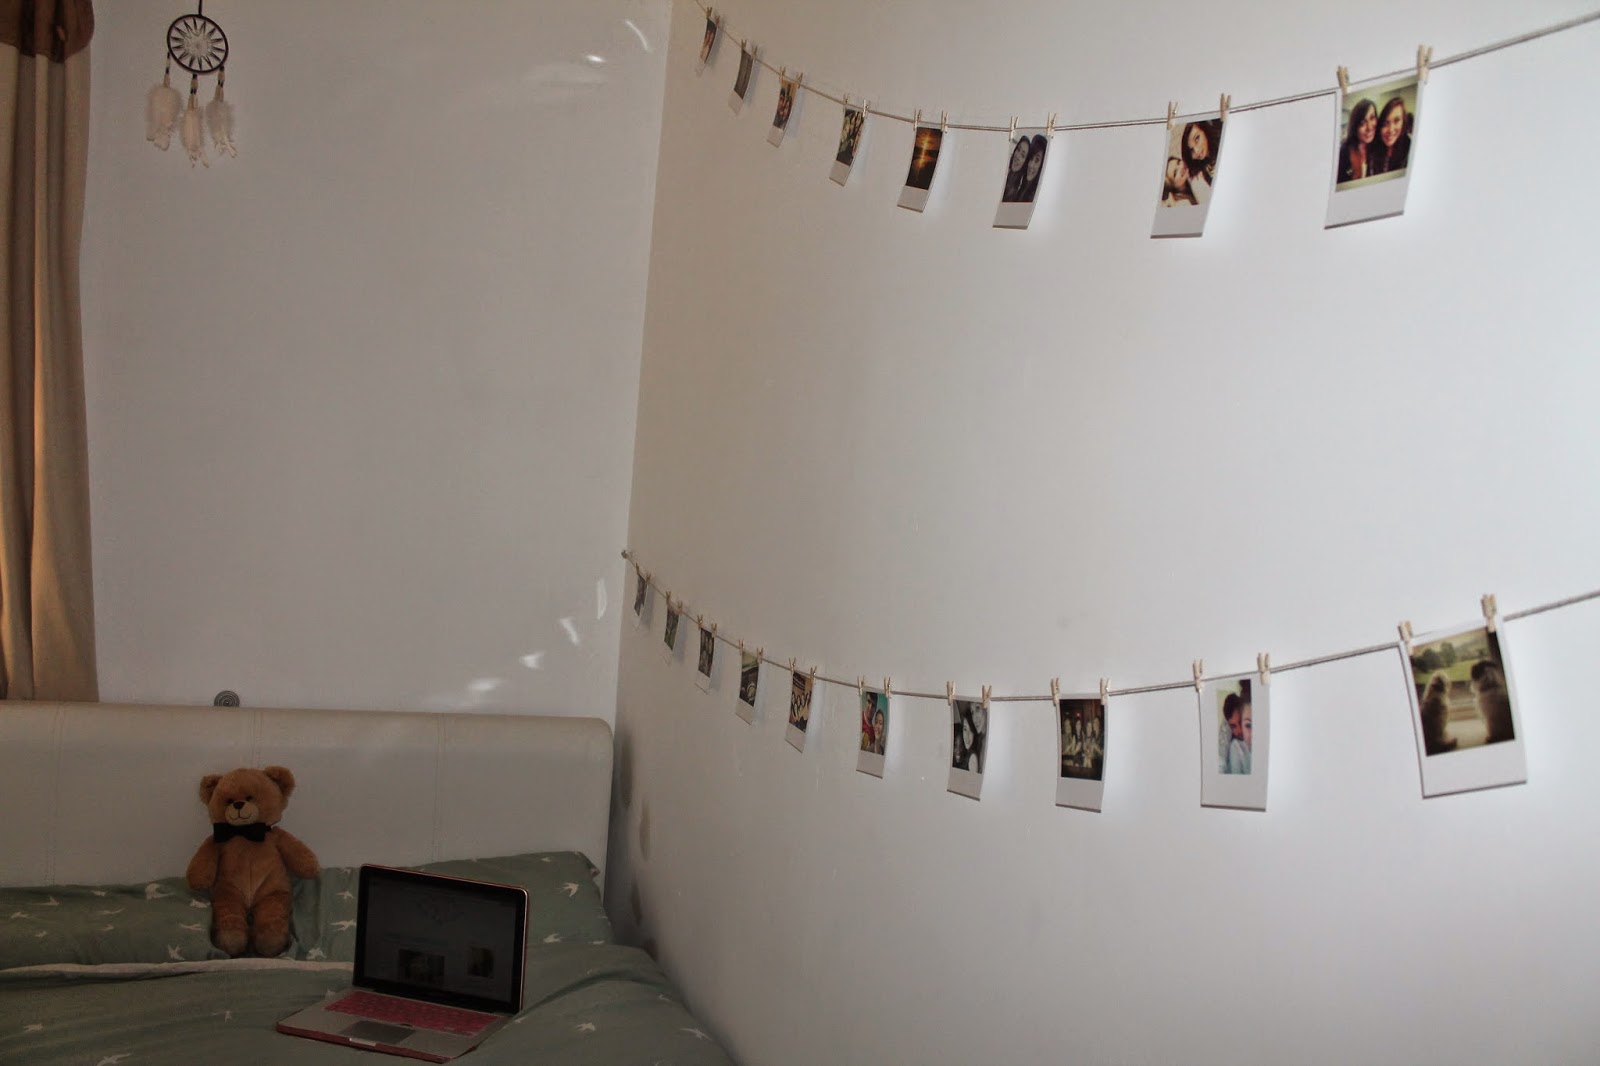
Hello lovelies, I have been ever so busy settling into University again for my final year, i've been back for about 3 weeks now and i've only just got round to properly decorating my room. I used a really simple and easy way of putting up pictures and I thought i'd share it with you guys. 

Basically, i'm just sharing with you a really simple but totally effective way to give new life to your room, and it is super cute, and relatively cheap! I saw something very similar on Pinterest, which gave me the idea. 

You will need:
I've left links to where I got everything from online, but obviously you can feel free to get different types of things etc. 

I started with the hooks, I got stick on hooks as my house is student accommodation therefor I can't just go banging nails into the wall, but if you live at home and you have your parents permission it would be easy to do with nails too. I placed the hooks where I wanted the string to drape down then wrapped the string round each hook. You can play with this until you get the right drape on the string. 

Then comes the fun bit, just putting your pictures wherever you want with the pegs. I decided to use two pegs on each photo as I felt they might have fallen without it, but I think it looks super cute with one just letting the photo hang down. Totally up to you and your style.

Here's what mine ended up like:


I hope this gives you guys some inspiration to do things with your room! Please show me if you do! 

Saturday, May 17, 2014

Spring Clean

Well, a summer clean really, but i didn't have much to do today so i decided to tidy everything up. Also the main reason i'm showing you this is more of a before and after, as i am going to get lots of pretty things to store my makeup and such, and so when i am happy with it, i will be showing you all again!


My Dressing Table

So its sort of a makeshift dressing table as i am a student, my one at home is MUCH nicer, but hey.. 

Wish list:
  • New make up bags
  • New Brushes
  • Make up organisers 
  • I always want new makeup
  • Bobby pins (i have like 3 left!)


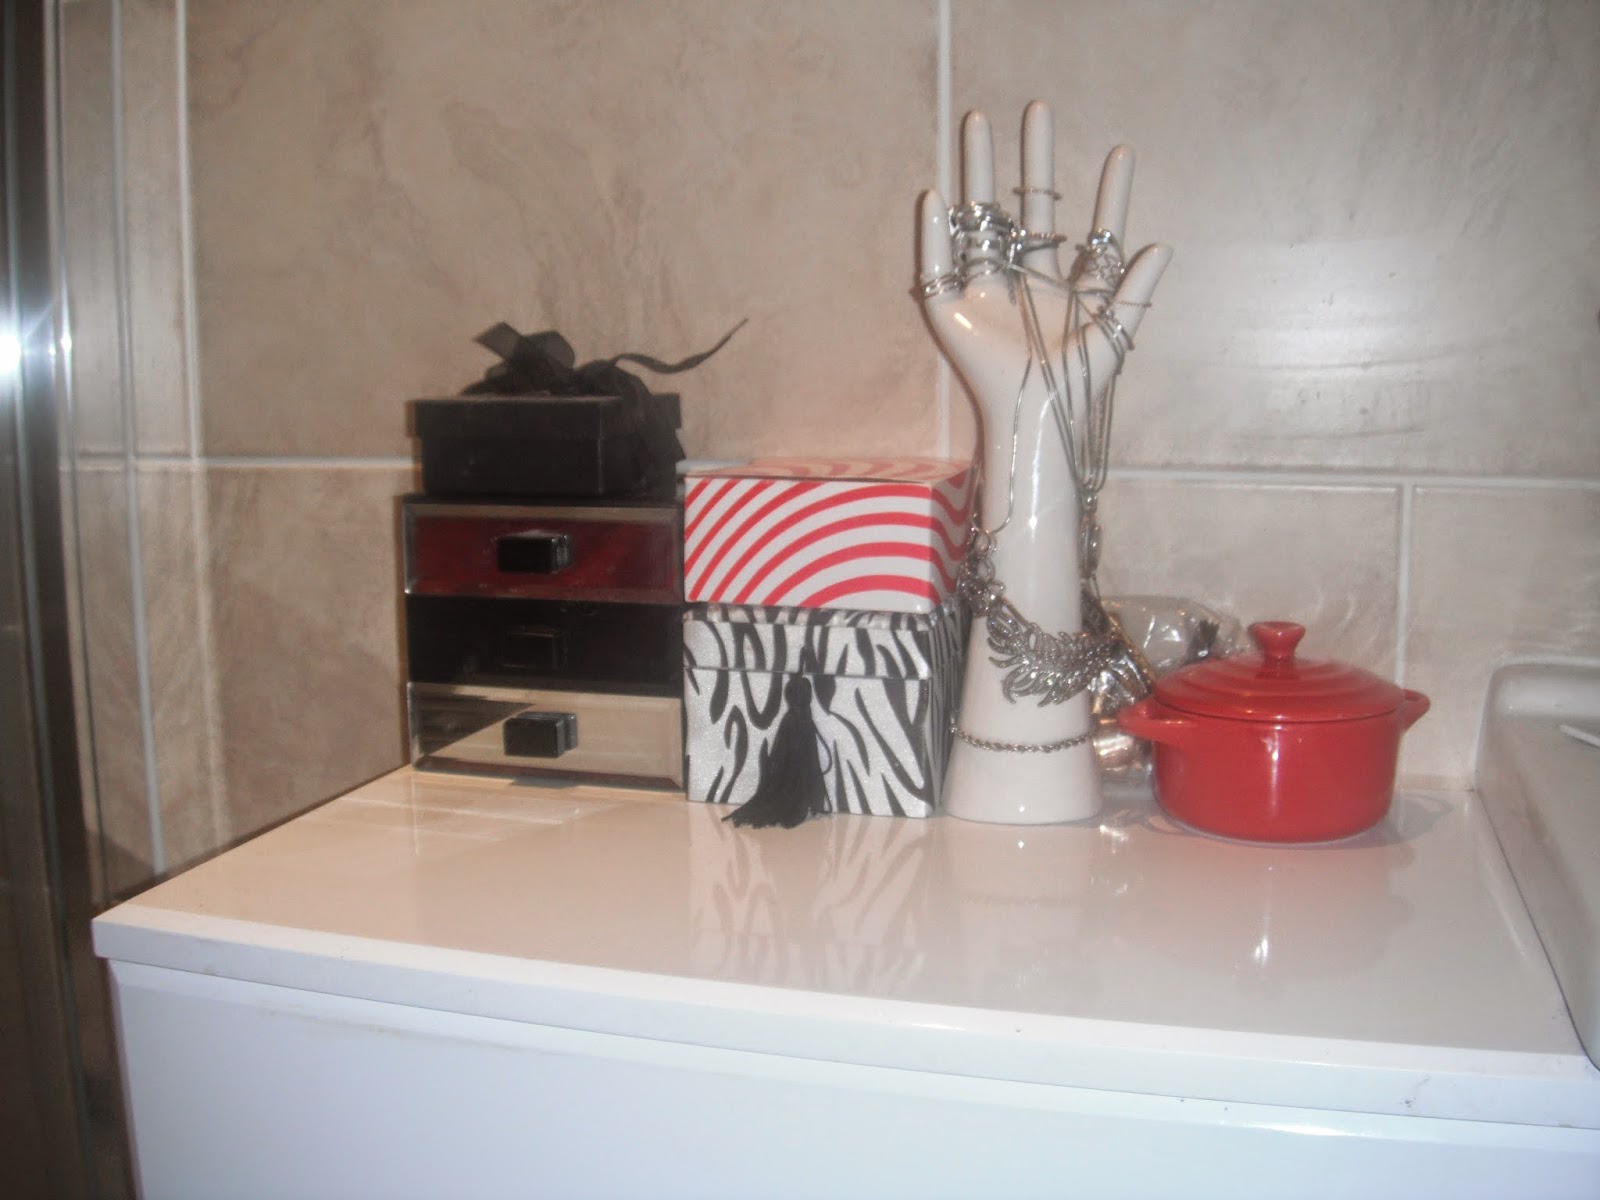
My Bathroom Sink

I adore my hand which i store rings and important necklaces, but there just isn't enough room on it. I also love my mini chest of draws, where i keep most of my earrings!


Wish list:
  • Some form of necklace holder, i am a huge fan of the DIY stuff so if you have any bright ideas or come across any good blog posts about this, let me know.
  • Earring holder too


I will keep you informed of my progress! And please let me know any good idea you have for holders/organisers etc


Much love
xoxo